It’s been an insanely busy few months recently. I started a full time job at the end of the summer and while working full time has its perks, it certainly leaves little time for creative pursuits. In January, I squeezed in a phenomenal gig at Sequential Circus 14 – you can check the recording below:
[soundcloud params=”theme_color=5332ff&color=57ffff”]https://soundcloud.com/dark-arps/live-at-sequential-circus-14[/soundcloud]
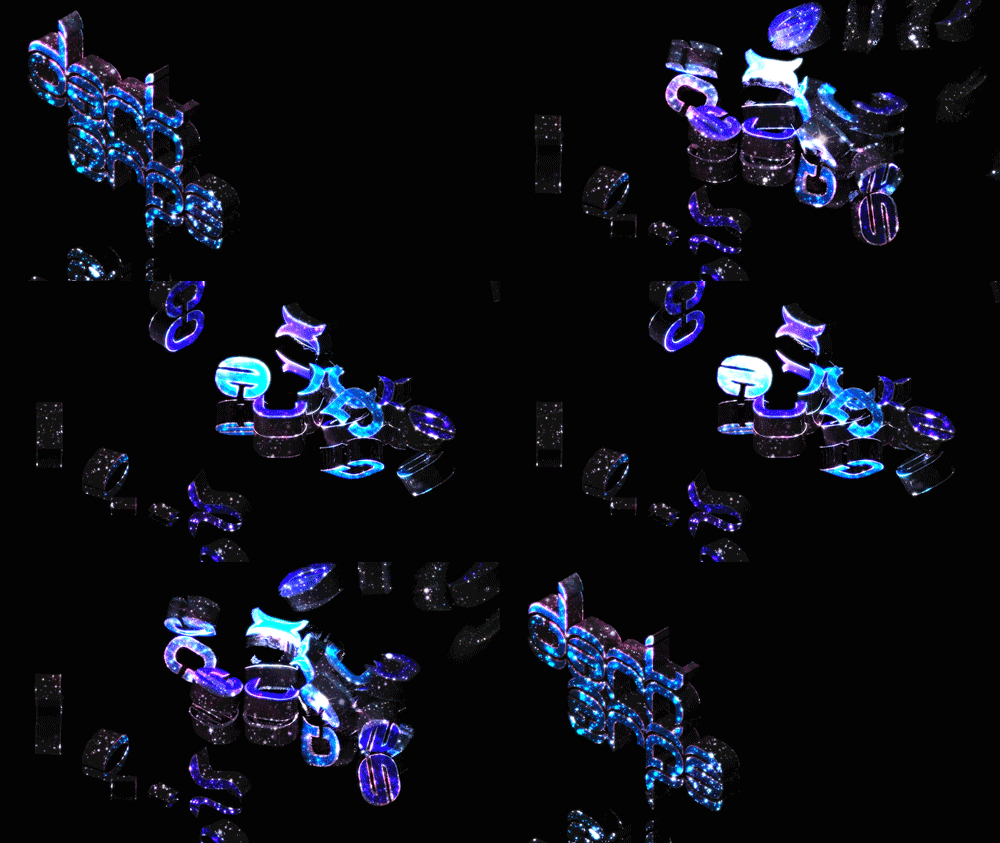
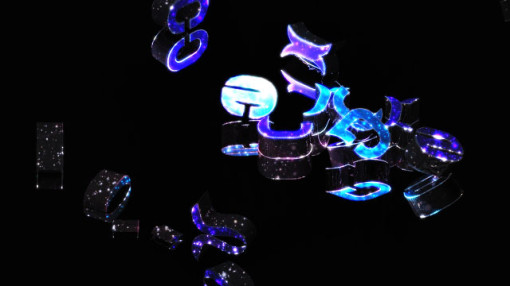
I’ve been nerding out some more with Cinema 4D and After Effects, though. The following was modelled and lit in Cinema 4D, and further compositing and colour correction done in After Effects.

The art of the animated GIF is a tricky one… getting something compelling that looks great and loops seamlessly is difficult. The master of this art is, IMHO, mr. div. Check out his work immediately!
It’s a very restrictive practise as you lose a ton of resolution and frames per second when you convert these animations to a GIF, and the process itself can be quite tricky. If you’re struggling with it, here’s the best way I know how, using Photoshop:
1) Export the animation in some kind of high-res codec Photoshop can read. QuickTime Animation codec is good.
2) In Photoshop, File > Import > Video Frames as Layers
3) Make sure to only import every 2 frames, or 3 if you want a faster animation. Expect a massive frame rate hit.
4) Window > Animation (or Timeline if you’re using CS6), Select All Frames. Set delay to 0.0.
5) File > Save For Web…
6) Choose one of the GIF presets, such as 128 dithered. At this point, you’re trying to get the file size down as much as possible so it won’t take long to load in the browser. You’ll also want to decrease the actual raster size to something around 500-600px wide.
[youtube_sc url=”http://youtu.be/0XpPuvyfoaY” width=”500″]
This is a whole new avenue for artistic expression and I am loving it!

